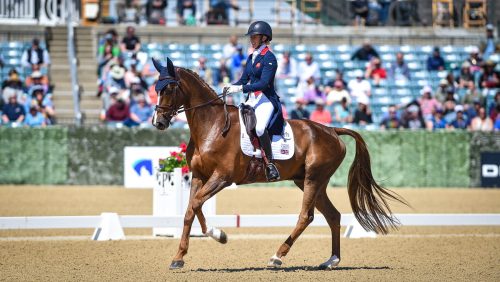
With her tireless mix of patience and humor, it’s easy to see why Jacqueline Brooks was chosen to lead Day 1 of the U.S. Eventing Association’s Instructor Certification Program’s Ocala Symposium.
Attendees came to watch Brooks teach six groups of horses and riders representing various levels, and certainly left with an understanding of her training system and an appreciation of her style.
The day began with Brooks explaining the correct use of the aids and the importance of their timing, and then she applied these principles consistently and passionately to each lesson.
Creating The Bridge
For Brooks, there are four main aids, and they should occur in the following order: weight, seat, leg, and hands.
Brooks began by stating that the weight aid signifies direction. To start each session, she had the riders walk on a soft or loose contact and simply lean their body in the direction they wanted the horse to turn. By isolating the weight aids, horses understood that the weight shifts when directional shifts are expected. For straight lines or in movements without a directional change (half-pass, shoulder-in, etc.), the weight is to remain over the center of the saddle.
The second of the aids, the seat bones, tells which hind leg to engage. “When you sit on a seat bone,” Brooks explained, “the opposite hind leg will engage to meet it.” Consequently, if a rider were to sit on their right seat bone, the horse’s left hind should engage across its body to step under the right seat bone.
The third of the aids—the legs—Brooks explained have three positions: off, neutral, and driving. The legs are off in a rein-back, maintaining a “neutral” pressure in a halt, and squeezing as a “driving” aid when wanting to move forward.
The hands are the last aid to be used, Brooks explained, because the goal of correct riding is to “take the responsibility away from your hand and put it onto your body.” The reins are primarily used to create what Brooks calls “the bridge,” which is when a rider can connect their elbow through the rein to the horse’s mouth, creating a bridge across the horse’s spine from hip to shoulder.
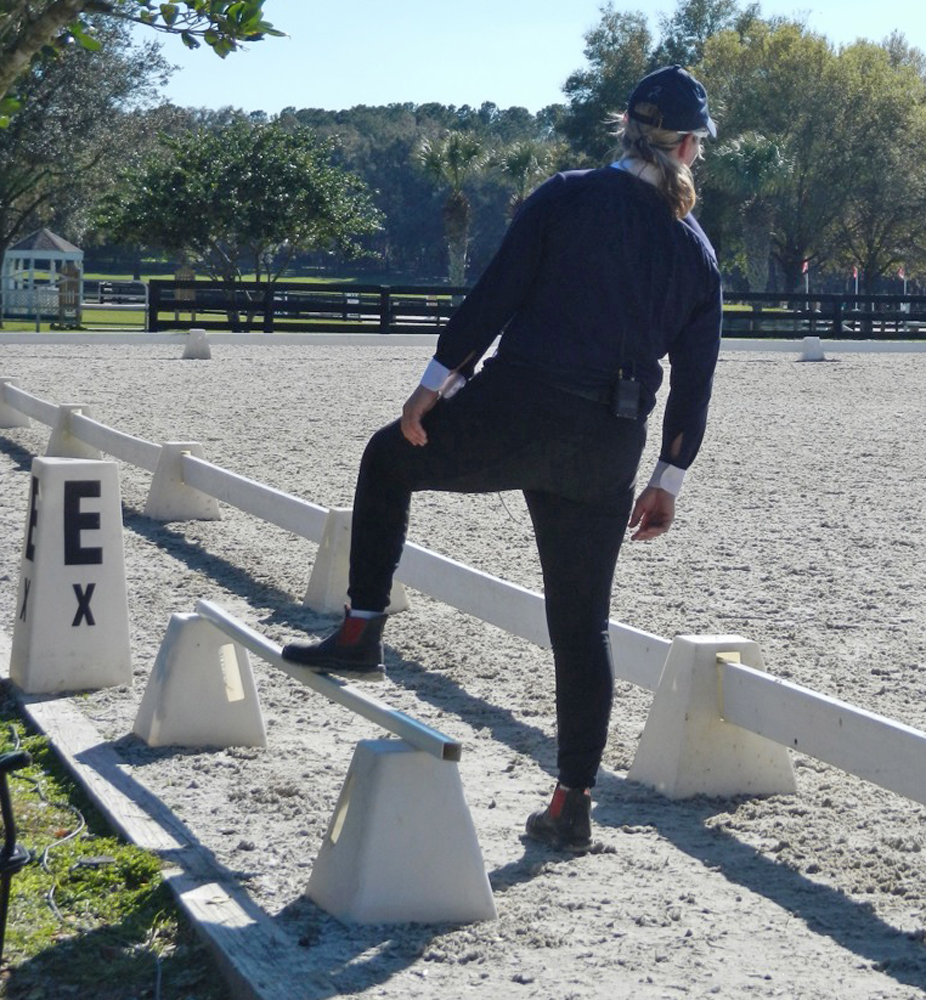 |
| Jacquie Brooks demonstrated her “plank” concept. Photo by Kristin Carpenter |
To illustrate her point, Brooks used a plank across two blocks (one on each end of the plank). If the front block is missing, the horse is falling on the forehand. If both blocks are missing, the horse is running flat. “When you create a bridge,” Brooks said, “you have engaged the horse.” Only once the horse is connected across its spine can the rider begin to influence this bridge, which she showed by pressing the center of the plank with her foot and having it rebound to match her.
The goal for the day was to get horses and riders of various levels to create a correct bridge with clear aids, begin to flex “the bridge” up and down as the horse learns to correctly use its back, and then—for the more advanced horses—to have the horse begin to lift its chest and engage its haunches in collection.
Partnerships, Not Dictatorships
During every session, Brooks made it clear that dressage is about communication. All the riders were pressed to have more clearly defined aids and to develop the horse within its physical ability.
During a theory session Brooks spoke alongside U.S. Eventing Coach David O’Connor. All too often, O’Connor explained, event riders think the answer is more leg without understanding the larger working frame of the horse. This can translate into horses that have been shut down in front by being ridden low in the head and neck and driven from the leg.
To correctly ride dressage the rider must have compassion for and education of the horse’s physical development and not just try to create “frames.”
ADVERTISEMENT
“Shortcuts, like rollkur,” Brooks explained, “are lazy. Sure you can get the shoulder to lift by driving down the head and neck and leaving the horse no options, but there is nothing admirable about that. Correct training is about having a partnership, not a dictatorship.”
For all middle- and mature-stage training pairs, every lesson proceeded through a similar sequence first to clarify the aids and then to illustrate the simplicity of things like lateral work and the flying change.
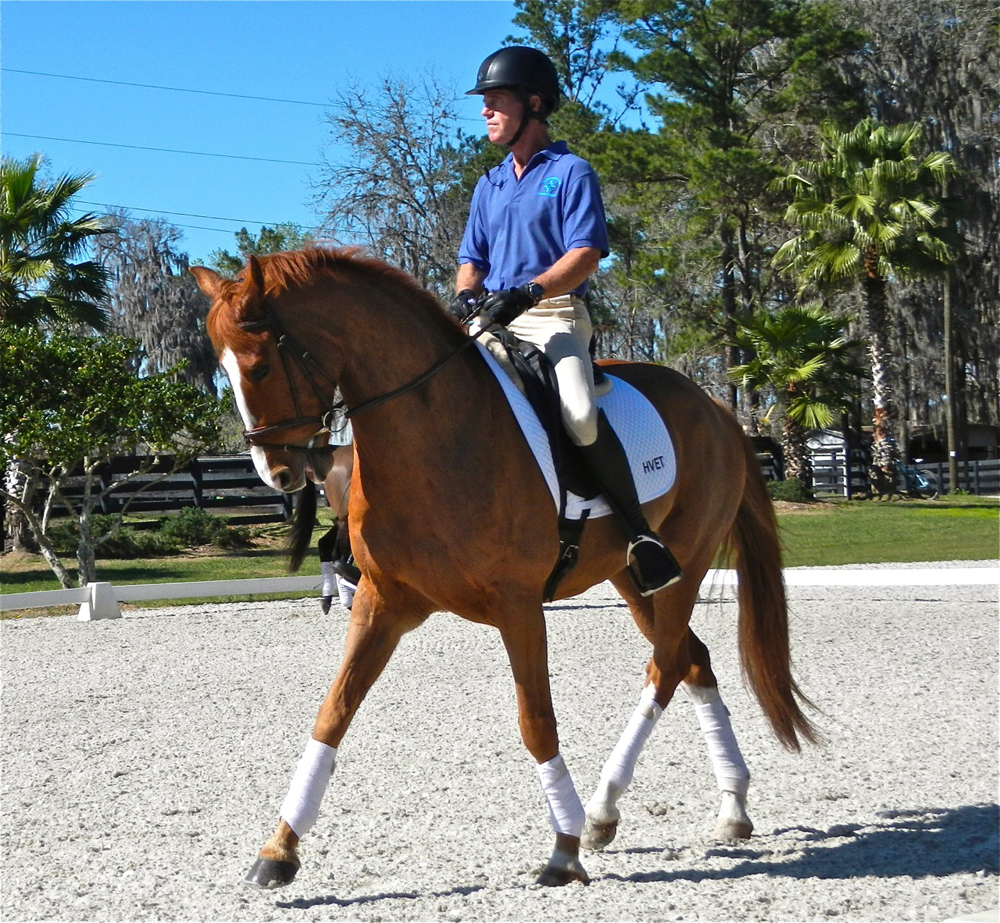 |
| Bill Hoos on RF Akarlos demonstrated the use of weight shift in lateral work. Photo by Kristin Carpenter |
To clarify the weight aid, Brooks first had riders work on a circle and “lean” their weight to the inside since one was expecting the horse to continue on the turning line of a circle. Once the riders could change direction off their weight aids, lessons progressed to defining the seat bones.
Brooks encouraged riders to think of their seat bones as drum sticks, and when sitting on one to think of drumming it into the saddle in rhythm. When trotting straight down the long side, the rider’s weight is to remain in the middle and the seat bones are to “drum” alternatively in rhythm.
For lateral work, a rider is to use her seat bones to influence the horse’s engagement. “When you sit on a seat bone,” Brooks reminded riders, “the opposite hind leg will engage to meet it.”
On the long side, riders were to ask for travers by sitting on the inside seat bone. “This,” Brooks explained, “will engage the outside hind to reach for that inside seat bone.” To shift to shoulder-in, Brooks instructed to only shift to the outside seat bone, thus engaging the inside hind leg across the body.
Simplifying The Changes
Once riders could consistently coordinate all of the aids, every middle- and advanced-stage training session then progressed to counter-canter on a 20-meter circle with flying changes to true canter and, for the most advanced horses, back to counter canter.
While I had never seen changes taught on a 20-meter circle, I must say the consistency and quality Brooks was able to achieve with all horses and riders has left many thinking this is the best way to approach the flying change.
On the 20-meter circle to the left in counter-canter, the weight aid should be to the inside, guiding the horse left, while the rider should sit on the left seat bone to maintain the right lead by engaging the right hind. With this new clarity, horses no longer had issues with swapping leads or acute losses of balance in the counter-canter.
 |
|
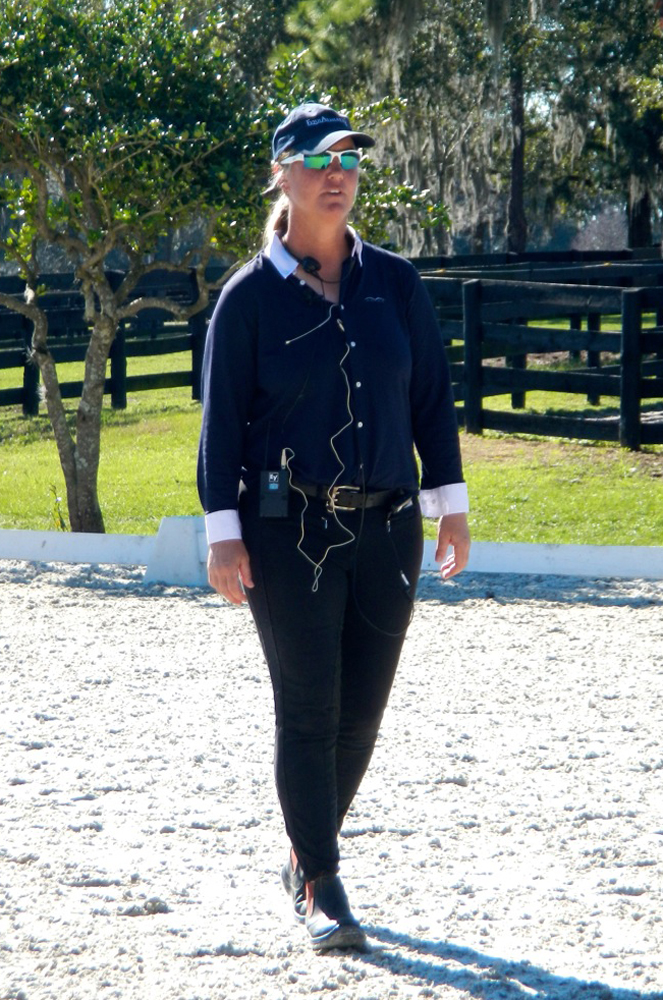
Jacquie Brooks shared her system |
Once the counter-canter circle was solidified, Brooks explained the flying change. “It is a seat aid,” she said, “and the circle is going to force you to maintain a consistent weight aid for direction and rein aid for connection and line. You must stay on the line of the circle, so all you can change are your seat and leg aids.”
She would then help cue the riders in the rhythm of the canter to balance the counter-canter, then make a clear shift from the inside seat bone to “drum” down the outside seat bone.
After a few tries, every horse understood the seat aid for the flying change and executed clean changes. To prove the level of this clarity, the advanced-stage horses continued to do changes back to the counter-canter on the same circle. “If you have this level of clarity off the seat aid, then when you have to do the flying change on the diagonal in your tests, it’s easy,” Brooks exclaimed.
“Too many people complicate the flying change,” she explained, “I wish we could not use that word. Don’t manage the change. Ride a great canter to a great canter.”
ADVERTISEMENT
Balance Before Forward
Brooks pressed the riders on the clarity and timing of aids, but she took a very forgiving approach to the horses. Developing the gaits, she explained, is about building “the bridge” and strengthening the horse to be able to lift the head, neck, and chest and increase the collection of the hind end.
In the early-stages training group, balance became the priority. For a horse to develop correctly, Brooks explained, the rider must be aware of the balance.
She used humor to explain that at the early stages a horse’s weight will land on the point of their shoulder, causing them to “run out to the rein like a dog that doesn’t know how to heel.” Through training the horses must learn to sit, and the weight will then land under the horse’s elbow, freeing up the chest and shoulder and raising the poll.
For a young horse that struggled in the canter, Brooks encouraged the rider to continually return to trot at that moment, reestablish the balance, and only then to try to canter again.
“You cannot go forward until you have balance,” she explained. The rhythm must be slow so the horse can focus on its balance, and the rider must sit steady and deep into the saddle.
This same principle was discussed with the upper-level horses. Many attendees were judges, and were able to ask Brooks about her priorities during the sessions. While one upper-level horse was cantering, a participant asked if there was enough impulsion for Brooks to be satisfied with the canter.
Brooks said that a rider should only ask for as much impulsion and power as a horse can balance. “Everything is in the security of the balance,” she explained.
Especially when in the show ring, Brooks felt it is necessary to only ask for as much power and impulsion as a horse can balance, otherwise the rider risks setting the horse up to make mistakes just to achieve more movement.
“There will never be a surprise in your test,” she said,” so you can plan things perfectly.”
It is the rider’s responsibility to create a plan for each step and execute it within the security of the balance. She concluded, “The amazing mover at the Olympics that makes seven mistakes, my little mover is going to beat.”
The U.S. Eventing Assocation Instructor’s Certification Program seeks to add to the knowledge base of all eventing instructors. Symposiums are a part of the continuing education for ICP instructors.
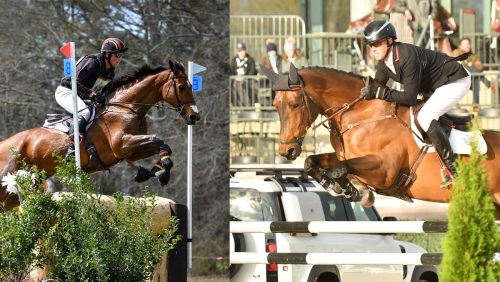
Tune in to www.chronofhorse.com tomorrow for coverage of the USEA ICP jumping sessions with grand prix show jumper Aaron Vale.